This article discusses how to resolve the common Windows 10/11 update error code 0x80244018. This error occurs when there is an issue connecting to the update servers due to various reasons, such as network connectivity problems, misconfigured settings, or issues with the Windows Update service itself.

To resolve this Windows Update Error Code 0x80244018, there are several possible solutions, including:
Here are some of the most effective results to fix this issue Windows Update Error 0x80244018
Run the Windows Update Troubleshooter
Windows has a built-in troubleshooter that can help diagnose and fix common problems with Windows Update. To access this,
- Go to Settings,
- Click on Update & Security,
- Select Troubleshoot,
- Click on “additional troubleshooters,”
- Select “Windows Update,” and click on “Run the troubleshooter.”
Run SFC and DISM Tools to fix Error Code 0x80244018
These tools can help repair system files that may be causing the issue.
To run the SFC scan,
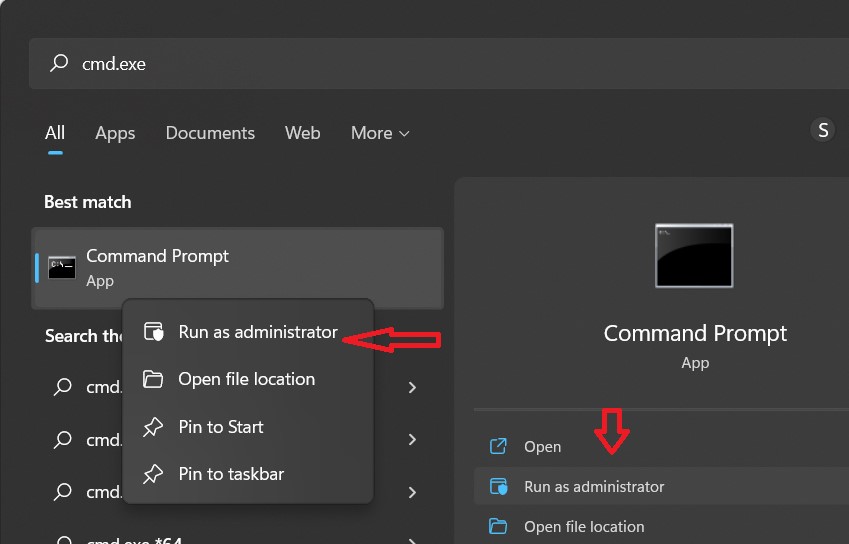
- Open a Command Prompt window as administrator,
- Type “sfc/scannow,” and hit Enter.

- After completion of the scan, restart your computer and check if the issue is solved.
To run the DISM scan,
- Open Command Prompt as administrator,
- Type the following commands and press Enter after each command:
DISM.exe /Online /Cleanup-image /Scanhealth
DISM.exe /Online /Cleanup-image /Restorehealth
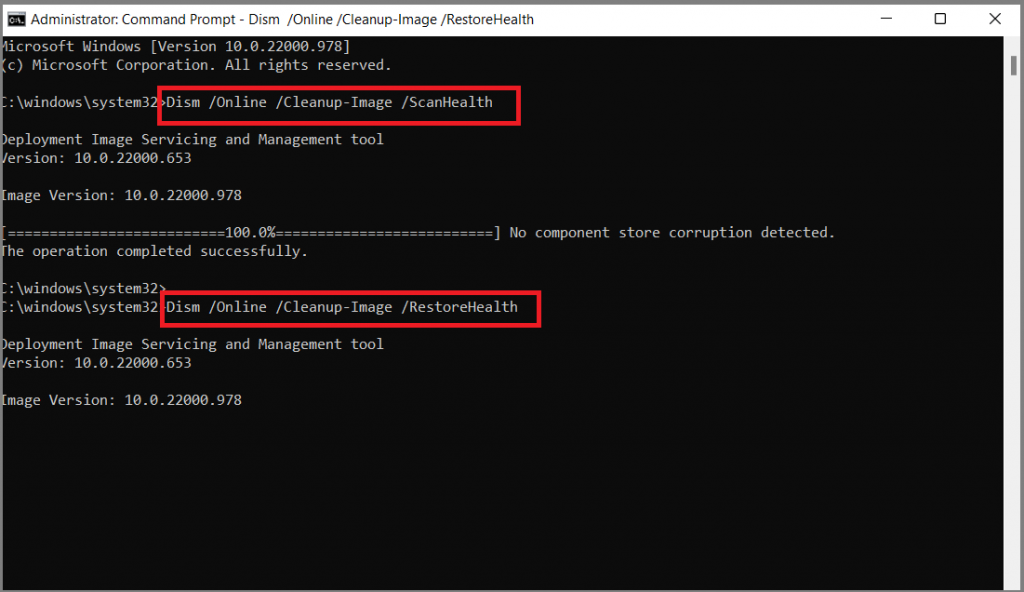
- After completion, type Exit in the Command Prompt window and press Enter to close the administrator.
Ensuring BITS is Running to fix Windows Update Error 0x80244018
BITS is a necessary component of Windows that grants updates. Error code 0x80244018 may occur when a malfunction happens in this component. To ensure BITS is running properly, follow these steps:
- Press Win+X and select Run from the list of options.
- On the Run dialog box, type “services.msc” and click on OK.
- From the list, look for the Background Intelligent Transfer Service in the Name column.
- Once you find it, right-click on it and select Properties.
- On the popup window, go to the “startup type” section, click on the dropdown and select “Automatic (Delayed start).”
- Move on to the Service status area and set it to start.
- Restart your computer and check for the error code 0x80244018 again. If it persists, see the next method to configure the proxy.
Uninstalling Third-Party Antivirus Software
The Windows Update error 0x80244018 may also be triggered by third-party antivirus software. To fix this Windows error, you can choose to uninstall the third-party antivirus software. To do this,
- Type “Control Panel” in the search area of Windows and select the best-matched one.
- Once you are in the Control Panel, select “Uninstall a program” under the Programs section.
- In the pop-up window, select the third-party antivirus software and right-click on it.
- Select Uninstall to continue.
- When the process is finished, you have uninstalled the third-party antivirus software.
- Reboot your computer and run Windows Update again to see if the error 0x80244018 is solved.
Renewing the Windows Update Service
The Windows Update service may occasionally get stuck or become unresponsive, causing the error code 0x80244018. To renew the service,
- Open the Services app from the launch menu,
- Locate the Windows Update service, right-click on it, and select “Restart.”
Clearing the Windows Update Cache
The Windows Update cache can occasionally become corrupted, which can cause issues with updating. To clear the cache, open Command Prompt as administrator, and type the following commands:
- net stop wuauserv
- net stop cryptSvc
- net stop bits
- net stop msiserver
- ren C:\Windows\SoftwareDistribution SoftwareDistribution.old
- ren C:\Windows\System32\catroot2 catroot2.old

Turn off the proxy connection
To resolve Error Code 0x80244018, which can be frustrating when updating your system, there are a few effective solutions you can try. The first step is to turn off the proxy connection. To do this,
- Press the Windows key and I to open the Windows Settings.
- From there, click on Network & Internet.
- Alternatively, you can open it by opening the Run software and entering “ms-settings:network-proxy” and pressing the Enter key.
- Next, go to Manual Proxy Settings and click on setup.
- Turn off or disable the “Use a proxy server” option.
- Once this is done, close the window and restart your system.
Manually download and install updates
If turning off the proxy connection does not work, you can try manually downloading and installing updates from the Microsoft Update Catalog website. Although this method may be more time-consuming, it can occasionally resolve the Error Code 0x80244018 issue.
In conclusion, if you are experiencing Error Code 0x80244018 while updating your system, don’t worry. There are several effective solutions you can try. However, if none of the above solutions work, you may need to seek further assistance from Microsoft Support or an IT professional.